How to install a skin in Minecraft [TLauncher]
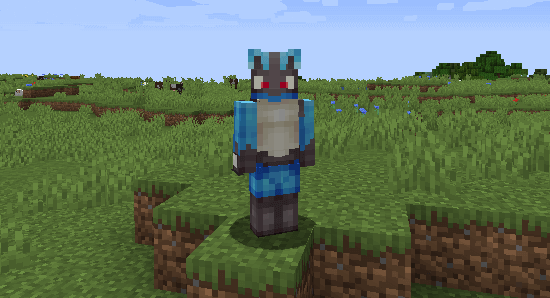
Playing with the standard skin can get boring, so it's worth considering installing your own custom skin. This guide fully explains the process, which, by the way, will take no more than five minutes and will let you enjoy your new skin for a long time. Please note that you must use our launcher, which you can [download here] .
Note: If your skins don't work on versions without the TL icons, you'll need to wait for the TL icons to be added for those versions. We're working on that! Thank you for your patience.
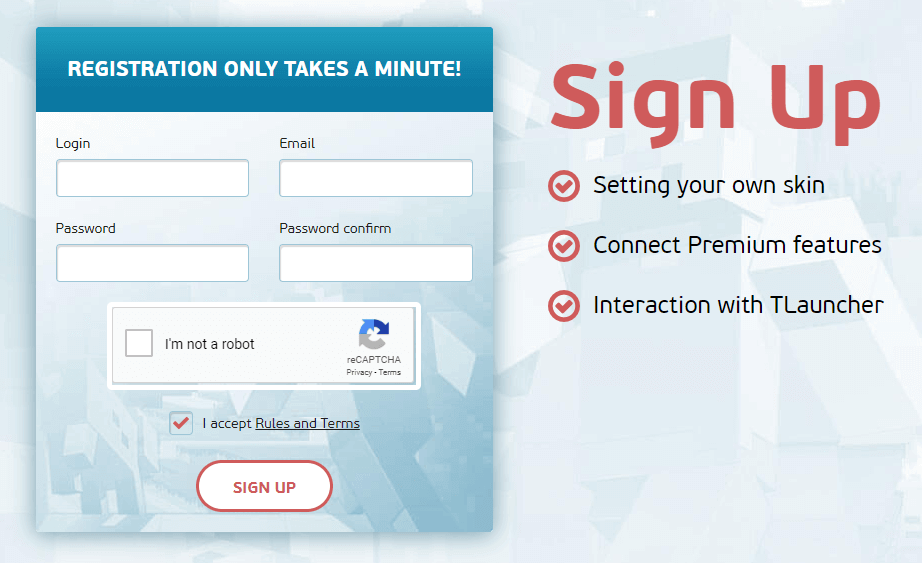
To get started, you'll need to register on our website so that you can use these login details in the launcher. Go to the registration page and enter the required information in the fields provided.
After registration, you'll be directed to your profile, where you can not only install a skin but also a cape (capes are available only for Premium users).
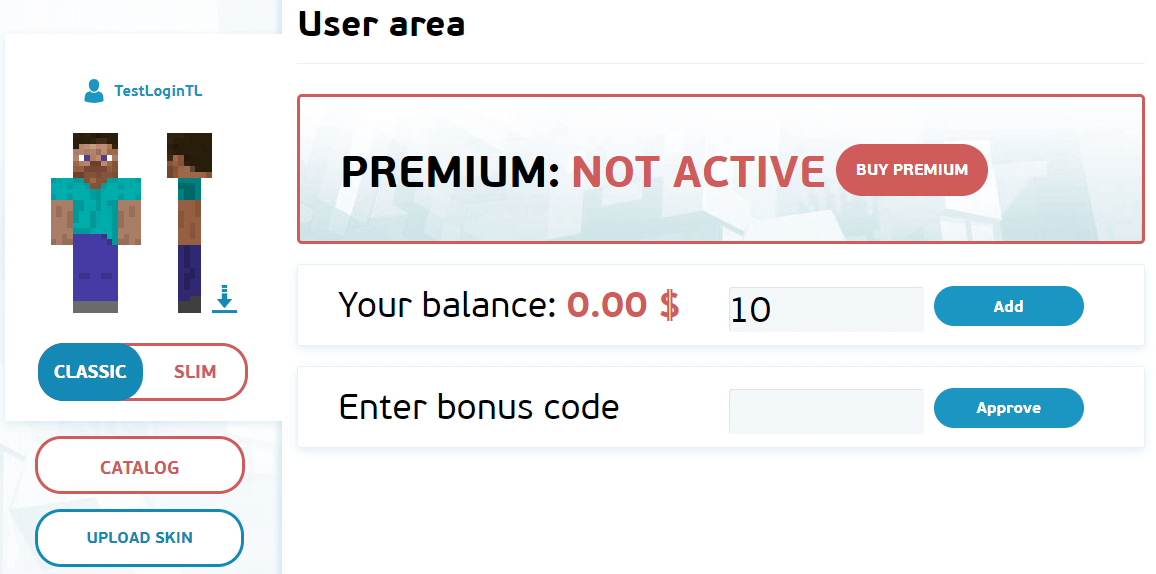
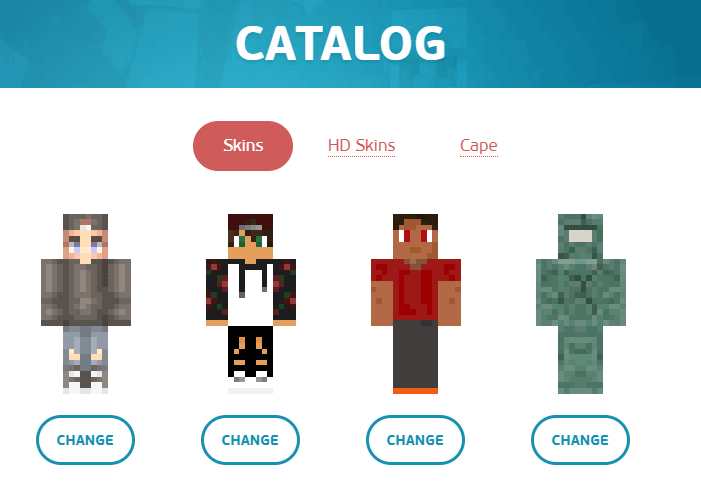
To upload a skin, click "Upload skin," and you can choose the skin file from your computer. We recommend using a size of 64x32 (unless, of course, you've purchased Premium, which allows you to install HD skins, i.e., skins with higher resolution). Additionally, you can choose from our catalog of beautiful skins.
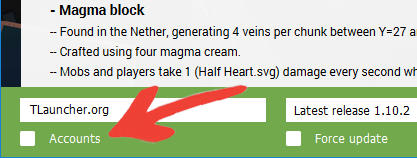
Next, run TLauncher, which you have already downloaded and installed. Look for the box next to "Accounts." Click on the "Accounts" tab, which in your case says "No accounts." Open the list and click "Manage," which will take you to the login page.
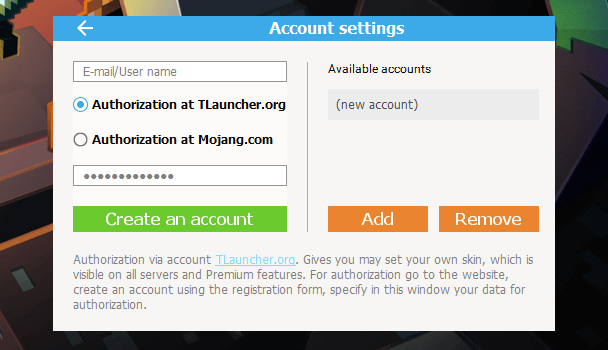
On this page, enter the data you provided during registration—Username/Email address and password. Click the "Save" button to proceed.
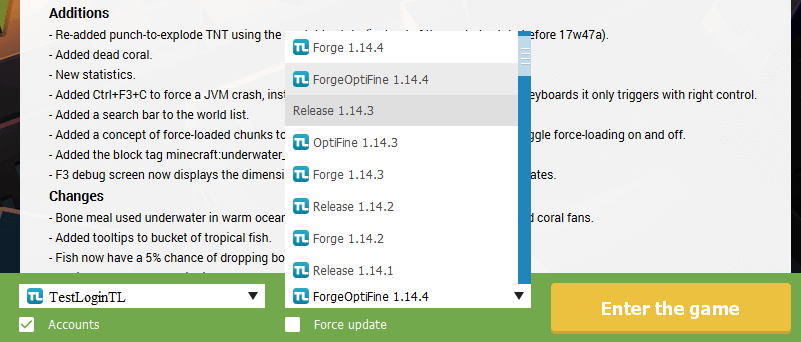
If the authorization is successful, you will see your username with a TL icon on the main page of the launcher. Now, select any version from the list that has the TL icon (indicating that this version supports our skin system) and start the game. Your skin will now be visible in the game!
