How to Install Capes in Minecraft [TLauncher]

Capes can be considered a true forbidden fruit in Minecraft. After all, they are not readily available, and most players have only seen them on servers. But thanks to TLauncher, now everything is possible! Although it could still be considered a forbidden fruit, as you need to have a TL Premium account for cape installation. Capes remain a unique attribute among players. In fact, through the official or other launchers, installing capes is not possible at all, especially for use on servers, so the premium requirement is the thing.
Of course, you need to have a TLauncher account and log in to the launcher. This process is already described in the article - How to Install Skins in Minecraft.
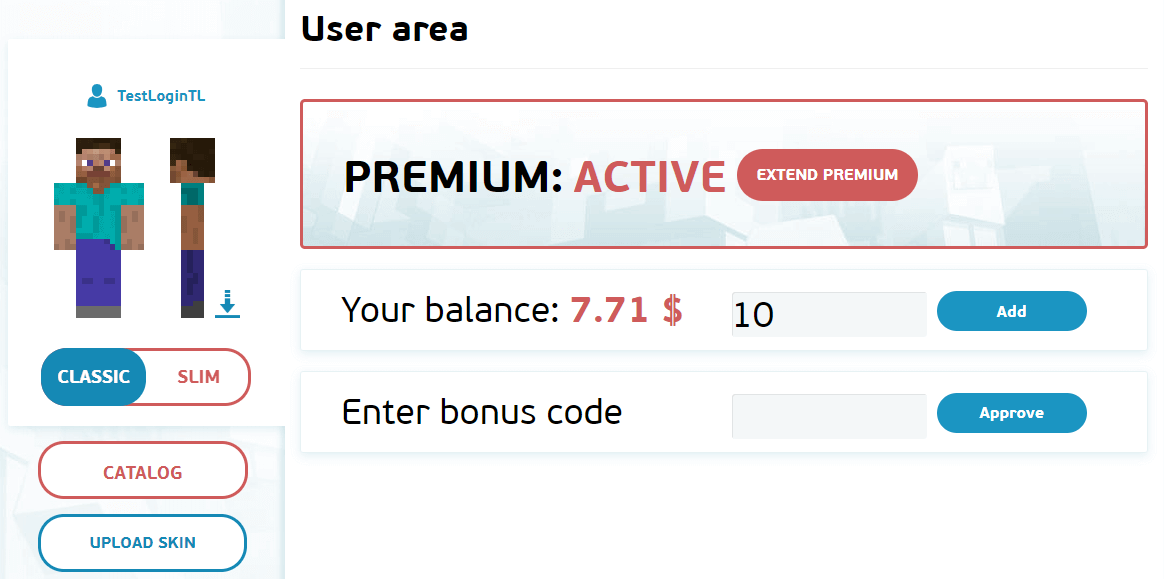
After purchasing the TL Premium, your profile should display "Active" next to Premium. This means all premium features are accessible to you, including capes.

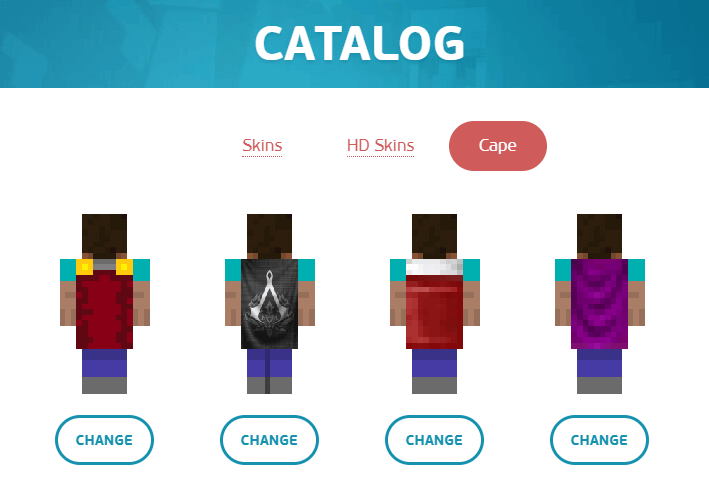
Now you can use the "Upload a Cape" button to choose a cape file from your computer. We recommend using a 64x32 size cape, as they are perfectly displayed. Additionally, we allow the use of high-resolution capes! Moreover, there are options in the catalog, so you can pick something out if you like.

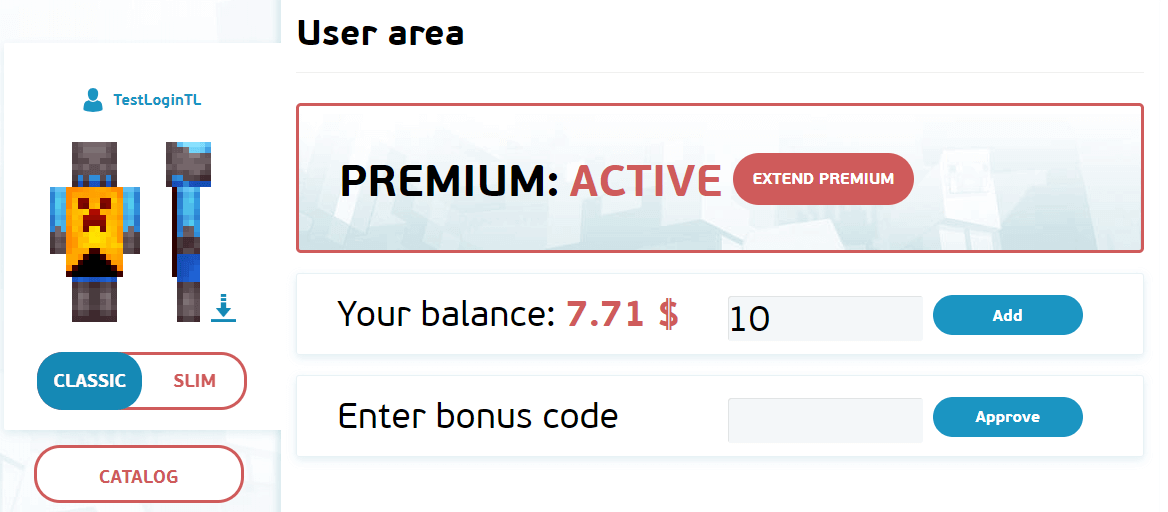
After uploading your cape or installing one from the catalog, it will appear on your character profile. If you see the cape, the installation was successful. You can now enter the game using our launcher and enjoy!
